Oracle APEX 20.1 introduced a new feature called Remote Application Deployment. This feature allows you to deploy your APEX 20.1 or 20.2 application into remote environments in a few simple steps. Deploying APEX applications has never been easier.
Typical Development Life cycle
APEX is a low-code, zero latency, feature-rich web application development framework that runs directly out of the Oracle Database. A web browser is all you need to develop robust, secure, and scalable database-driven applications.
Most often, your development will be done using a traditional application development life cycle. You might have three separate instances such as Dev, Test, and Production and each will be running out of separate databases whether they be local or hosted.
Whatever the setup, there is always a need to deploy applications between environments. There are several ways to do these deployments, and now, Remote Application Deployment is one of the easiest. We’ll take a look at the steps involved, and then take a look at a few important considerations.
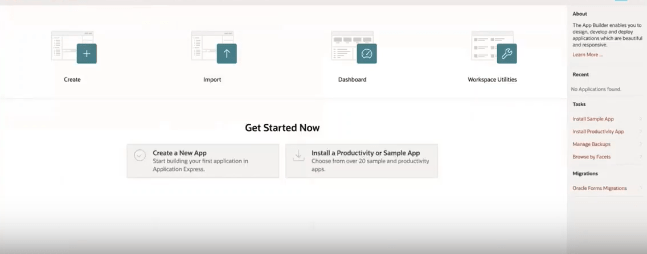
Step One: Preparing the environments
If your Oracle APEX environments are already running, you may not need to do any of this. However, there are a few key points to keep in mind.
Remote Application Deployment was first introduced in APEX 20.1. It has always been the case that you can seamlessly deploy an APEX application to a later version of APEX. Backward compatibility has always been maintained. You can even run an application by setting the Compatibility Mode in the Application Properties settings.
For Remote Application Deployment to be used, both of the environments, the one you are deploying from and deploying to, must both be using APEX 20.1 or higher. They don’t have to be on the same version, but they must be using 20.1 or 20.2.
In the past, you would export your application into a single SQL file that contains the application definition, database objects, and Supporting Objects. APEX 20.1 also added a feature that allows you to export the application into a .zip file that splits the application out into individual SQL files for pages, Shared Components, and so on for version control. Once you have exported the application, you would take the export file and import it into your target environment, or run it directly in the database schema. Remote Application Deployment takes care of it all for you.
Lastly, a network access control list entry (ACL) must be created in the source database to allow outbound web service calls.
All of the above only needs to be done once. It has been listed here for clarity purposes.
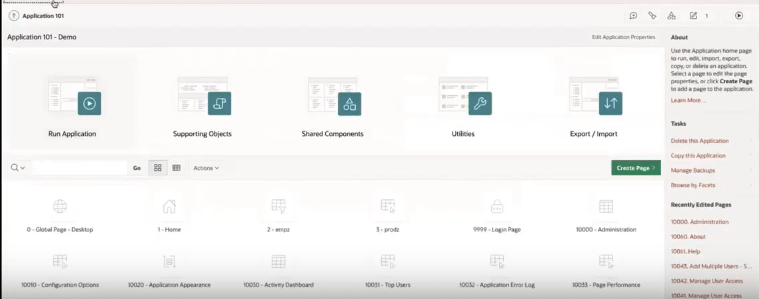
Step Two: Enabling REST Services and ORDS Registration
The Remote Application Deployment feature uses the ORDS REST Enabled SQL Service To make use of Remote Application Deployment, your source, and target schemas need to be REST Enabled. You can do this in SQL Workshop >> RESTful Services.
A Wallet must be created on the database server and most likely you will need your DBA to do this for you. Once the Wallet is in place, your APEX instance administrator needs to complete the configuration in the instance settings. Your DBA will find the details in the APEX Administration Guide. Visit apex.oracle.com/shortcuts to find links to the documentation.
Oracle REST Data Services (ORDS) version 19 or higher needs to be running on the target system. The target schema has to be registered with ORDS and this can be done in the target instance SQL Workshop >> RESTful Services >> Register Schema with ORDS.
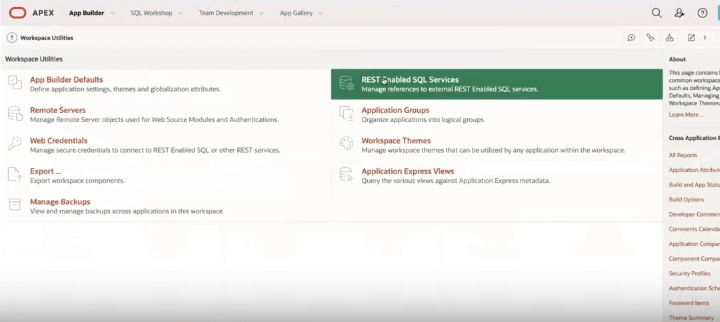
The above only needs to be done once and you are ready to go. Again, we have listed this as a separate step to provide you with a complete overview.
Step Three: Deploy Your Application
Once the above steps have been completed, you will never have to do them again. Now, when you want to deploy an application using the Remote Application Deployment feature, all it takes is one simple click of the mouse.
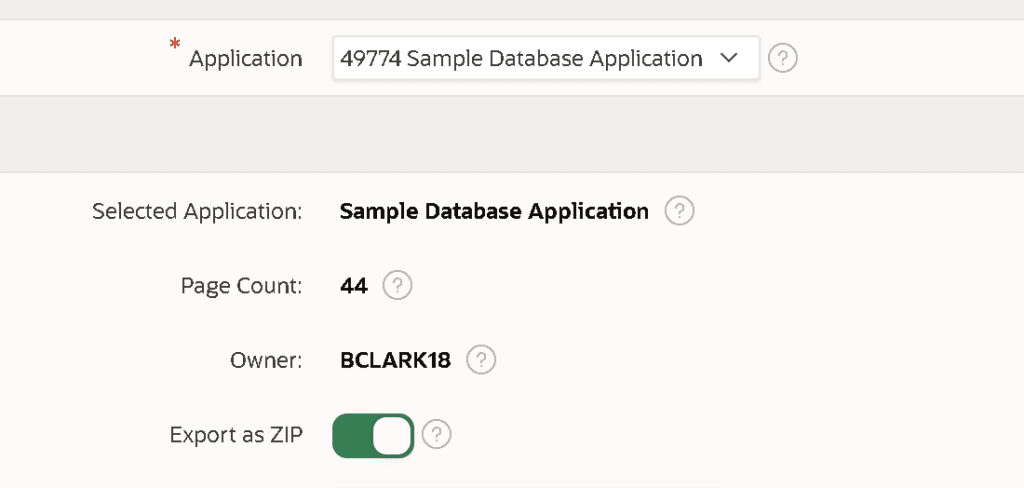
In your source Workspace, go to your application and select Export / Import and select Remote Deployment and follow the wizard to perform the deployment. In your target Workspace, you will now see your application with the same ID as it had in your deployment workspace. Remember that if application users were defined in the deployment workspace, they will also need to be created in the target workspace.
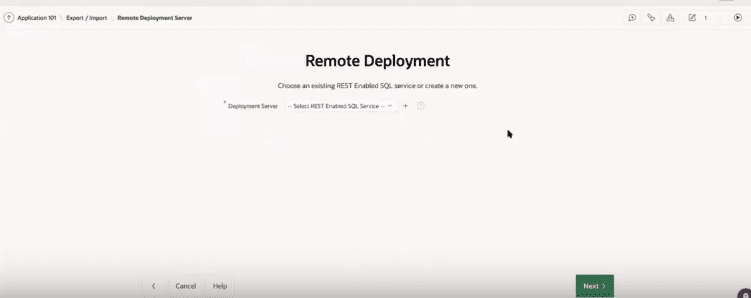
Considerations
Version Control
When you use the Remote Application Deployment feature, you don’t have an SQL application file or individual component files. It is a good idea to create an export file as you would have done in the past. This way, you can properly version control your deployments.
Security
You need to be certain that only authorized users can make use of Remote Application Deployment. The feature can use Basic Authentication or ORauth2. You shouldn’t store the credentials in the APEX environment as this will mean that any developer can deploy applications or run code against the target schema.
Deployment of an application from an earlier state
Just as with standard application export, you can make use of the “as of” parameter on the export application screen. This parameter allows you to specify a previous state from which to take the export. For instance, to deploy a version of the application as it was fifteen minutes ago, you would set the parameter to 15.
The period that can be used for the “as of” parameter is determined by the data retention variable setting in the database.
As mentioned above, be sure to export the application into a single SQL file using the same previous state.
One-click and it’s deployed
The Remote Application Deployment feature introduced in APEX 20.1 makes it so much easier to deploy applications to remote environments. You no longer have to move from one workspace to the other and perform the application import. It means that you can seamlessly deploy from a local instance to a remote instance. As long as your host is running APEX 20.1 or higher, and allows the use of REST Enabled SQL, it couldn’t be easier to do your deployments.

